If you’re new to gardening and want to add some structure to your outdoor space, garden edging or lawn edging is a great place to start. It helps define areas in your garden, keeps mulch and soil in place, and can even boost the overall look of your yard. Plus, making your own garden edging can be a fun and rewarding project! So let’s explore several simple DIY garden edging projects using common materials. Whether you’re interested in wood, bricks, or even metal garden edging, we’ve got you covered.
Why use garden edging?
Before we dive into the projects, let’s quickly talk about why lawn edging is important. Garden edging creates clear boundaries between different areas in your garden, like flower beds and pathways. This not only helps keep your garden looking neat, but it also prevents grass and weeds from encroaching on your plants. Additionally, lawn edging can be a decorative garden feature, adding style and personality to your outdoor space.
Materials you’ll need
Here are some common materials you can use for your DIY garden edging projects:
– Wood: Timber boards or logs are great for creating a natural look.
– Bricks: These can be stacked or laid flat to create solid borders.
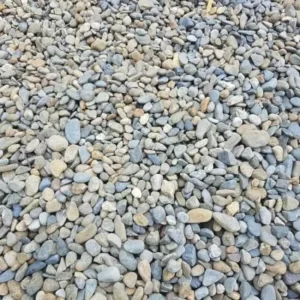
– Stone: Use smooth river stones or larger rocks for a more rustic appearance.
– Plastic or rubber edging: Lightweight and easy to install, plastic or rubber edging is also cost-effective.
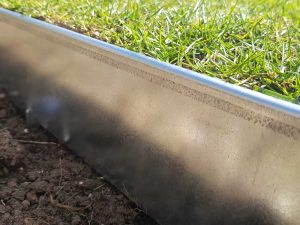
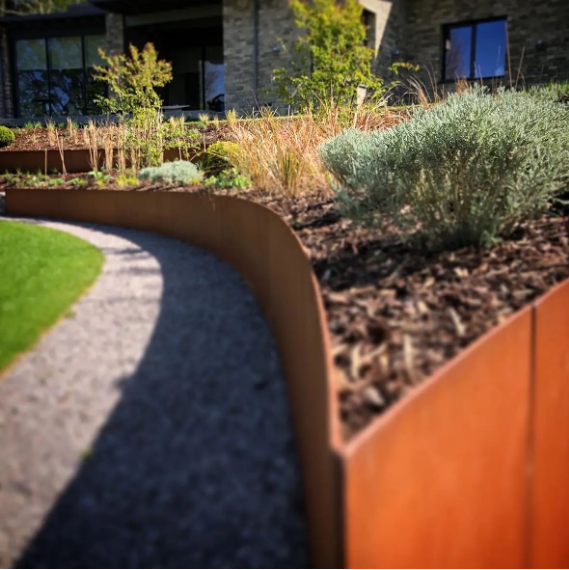
– Metal garden edging: Steel garden edging is durable and provides a modern look.
Now, let’s look at some simple DIY garden edging projects you can try!
1. Wooden Garden Edging
What you’ll need:
– Wooden planks or logs
– Shovel
– Hammer and nails (if using planks)
– Optional: wood stain or sealant
1. Decide where you want to place the edging. You can create a straight line or a curved path.
2. Use a shovel to dig a shallow trench along the line of your edging. The depth should be about 2-3 inches, depending on how deep your wood will be placed.
3. If you’re using planks, cut them to the desired length. If you’re using logs, you can cut them into sections.
4. Insert the wood into the trench. If you’re using planks, nail them together for stability.
5. If you want, apply wood stain or sealant to protect your edging from the weather. This step is especially important for wooden lawn edging to extend its life.
2. Brick garden edging
What you’ll need:
– Bricks
– Shovel
– Level
– Optional: sand or gravel for the base
1. Decide where you want your brick edging. A simple straight line works best for beginners.
2. Dig a trench about 4 inches deep and slightly wider than the bricks.
3. For better stability, you can add a layer of sand or gravel to the bottom of the trench.
4. Place the first brick in the trench, making sure it’s level. Continue laying the bricks next to each other, checking for level as you go.
5. Once all the bricks are laid, fill in the gaps with soil or sand to hold them in place. This type of lawn edging is sturdy and will last a long time!
3. Stone garden edging
What you’ll need:
– Stones or pebbles (smooth river stones work well)
– Shovel
– Optional: landscape fabric
1. Gather stones or pebbles that fit your desired look. You can mix and match different sizes for a more interesting design.
2. Use a garden hose or string to outline the area where you want to place the stones.
3. Dig a shallow trench along the outline. The depth should be about 2-4 inches, depending on the size of your stones.
4. Start placing your stones in the trench, arranging them in a way that they’re stable and aesthetically pleasing.
5. If you want to prevent weeds from growing through, lay landscape fabric underneath the stones before filling in.

4. Plastic or rubber edging
What you’ll need:
– Plastic or rubber garden edging strips
– Stakes or anchors
– Hammer
1. Plan where you want to place the plastic or rubber edging. It can be straight or curved.
2. Dig a trench that’s about 4-6 inches deep along the designated area.
3. Place the plastic or rubber edging into the trench. Ensure that it’s flush with the ground.
4. Use stakes or anchors to hold the edging in place, hammering them into the ground as needed.
5. Fill in any gaps with soil to hold the edging securely.
5. Metal garden edging
What you’ll need:
– Steel garden edging strips
– Hammer or rubber mallet
– Stakes (usually included with the edging)
1. Decide where you want to place the metal garden edging. Use a garden hose or string to mark the boundaries.
2. Dig a trench that’s about 4 inches deep.
3. Place the steel garden edging into the trench, ensuring it’s straight and flush with the ground.
4. Use the provided stakes to anchor the edging. Hammer them into the ground to hold the metal garden edging in place.
5. Check to make sure the edging is level and adjust as needed.

Benefits of choosing steel garden edging
MI Organics is proud to be a family-owned and operated business for over 30 years, supplying high-quality garden supplies, including steel garden edging, to Coffs Harbour and the surrounding areas. Our Shapescraper Garden Edging is made from strong galvanised steel, which won’t rust easily and lasts a long time.
This metal garden edging is tough yet flexible, allowing you to bend it to fit any shape you want, whether it’s curvy or straight. Installing it is easy – just use stakes or screws to keep it in place. Plus, it adds a modern look to your outdoor space and requires minimal maintenance, so you can enjoy your garden without worrying too much.
Galvanised steel edging offers durability and long-lasting performance, making it ideal for any landscaping project. It’s easy to install and maintain, so it’s a practical choice for homeowners and landscapers alike. With our steel garden edging, you can create clean and defined borders, keeping your garden tidy while preventing weeds from spreading into unwanted areas.
Tips for success
Before starting any project, take the time to plan the layout and design. This will help you visualise how your lawn edging will look. Don’t be afraid to mix and match materials! For example, you can combine metal garden edging with stones for a unique look.
Regular maintenance will help keep your lawn edging looking its best. Remove any weeds and check for stability periodically.

Get your garden supplies with MI Organics
DIY garden edging projects are a fantastic way for beginners to freshen up their outdoor space. Whether you choose wood, bricks, stones, plastic, or metal garden edging, these projects are easy to take on and can transform the look of your garden. If you’re considering steel garden edging, look no further than MI Organics in Coffs Harbour. With our durable and stylish options, you can create the garden of your dreams.
So gather your materials, follow these simple steps, and get started on your lawn edging project today! You’ll not only enjoy the process but also the beautiful results in your garden. For more information about our steel garden edging and other landscaping supplies, give us a call at (02) 6653 2033. We’re here to help you make your outdoor space shine!

